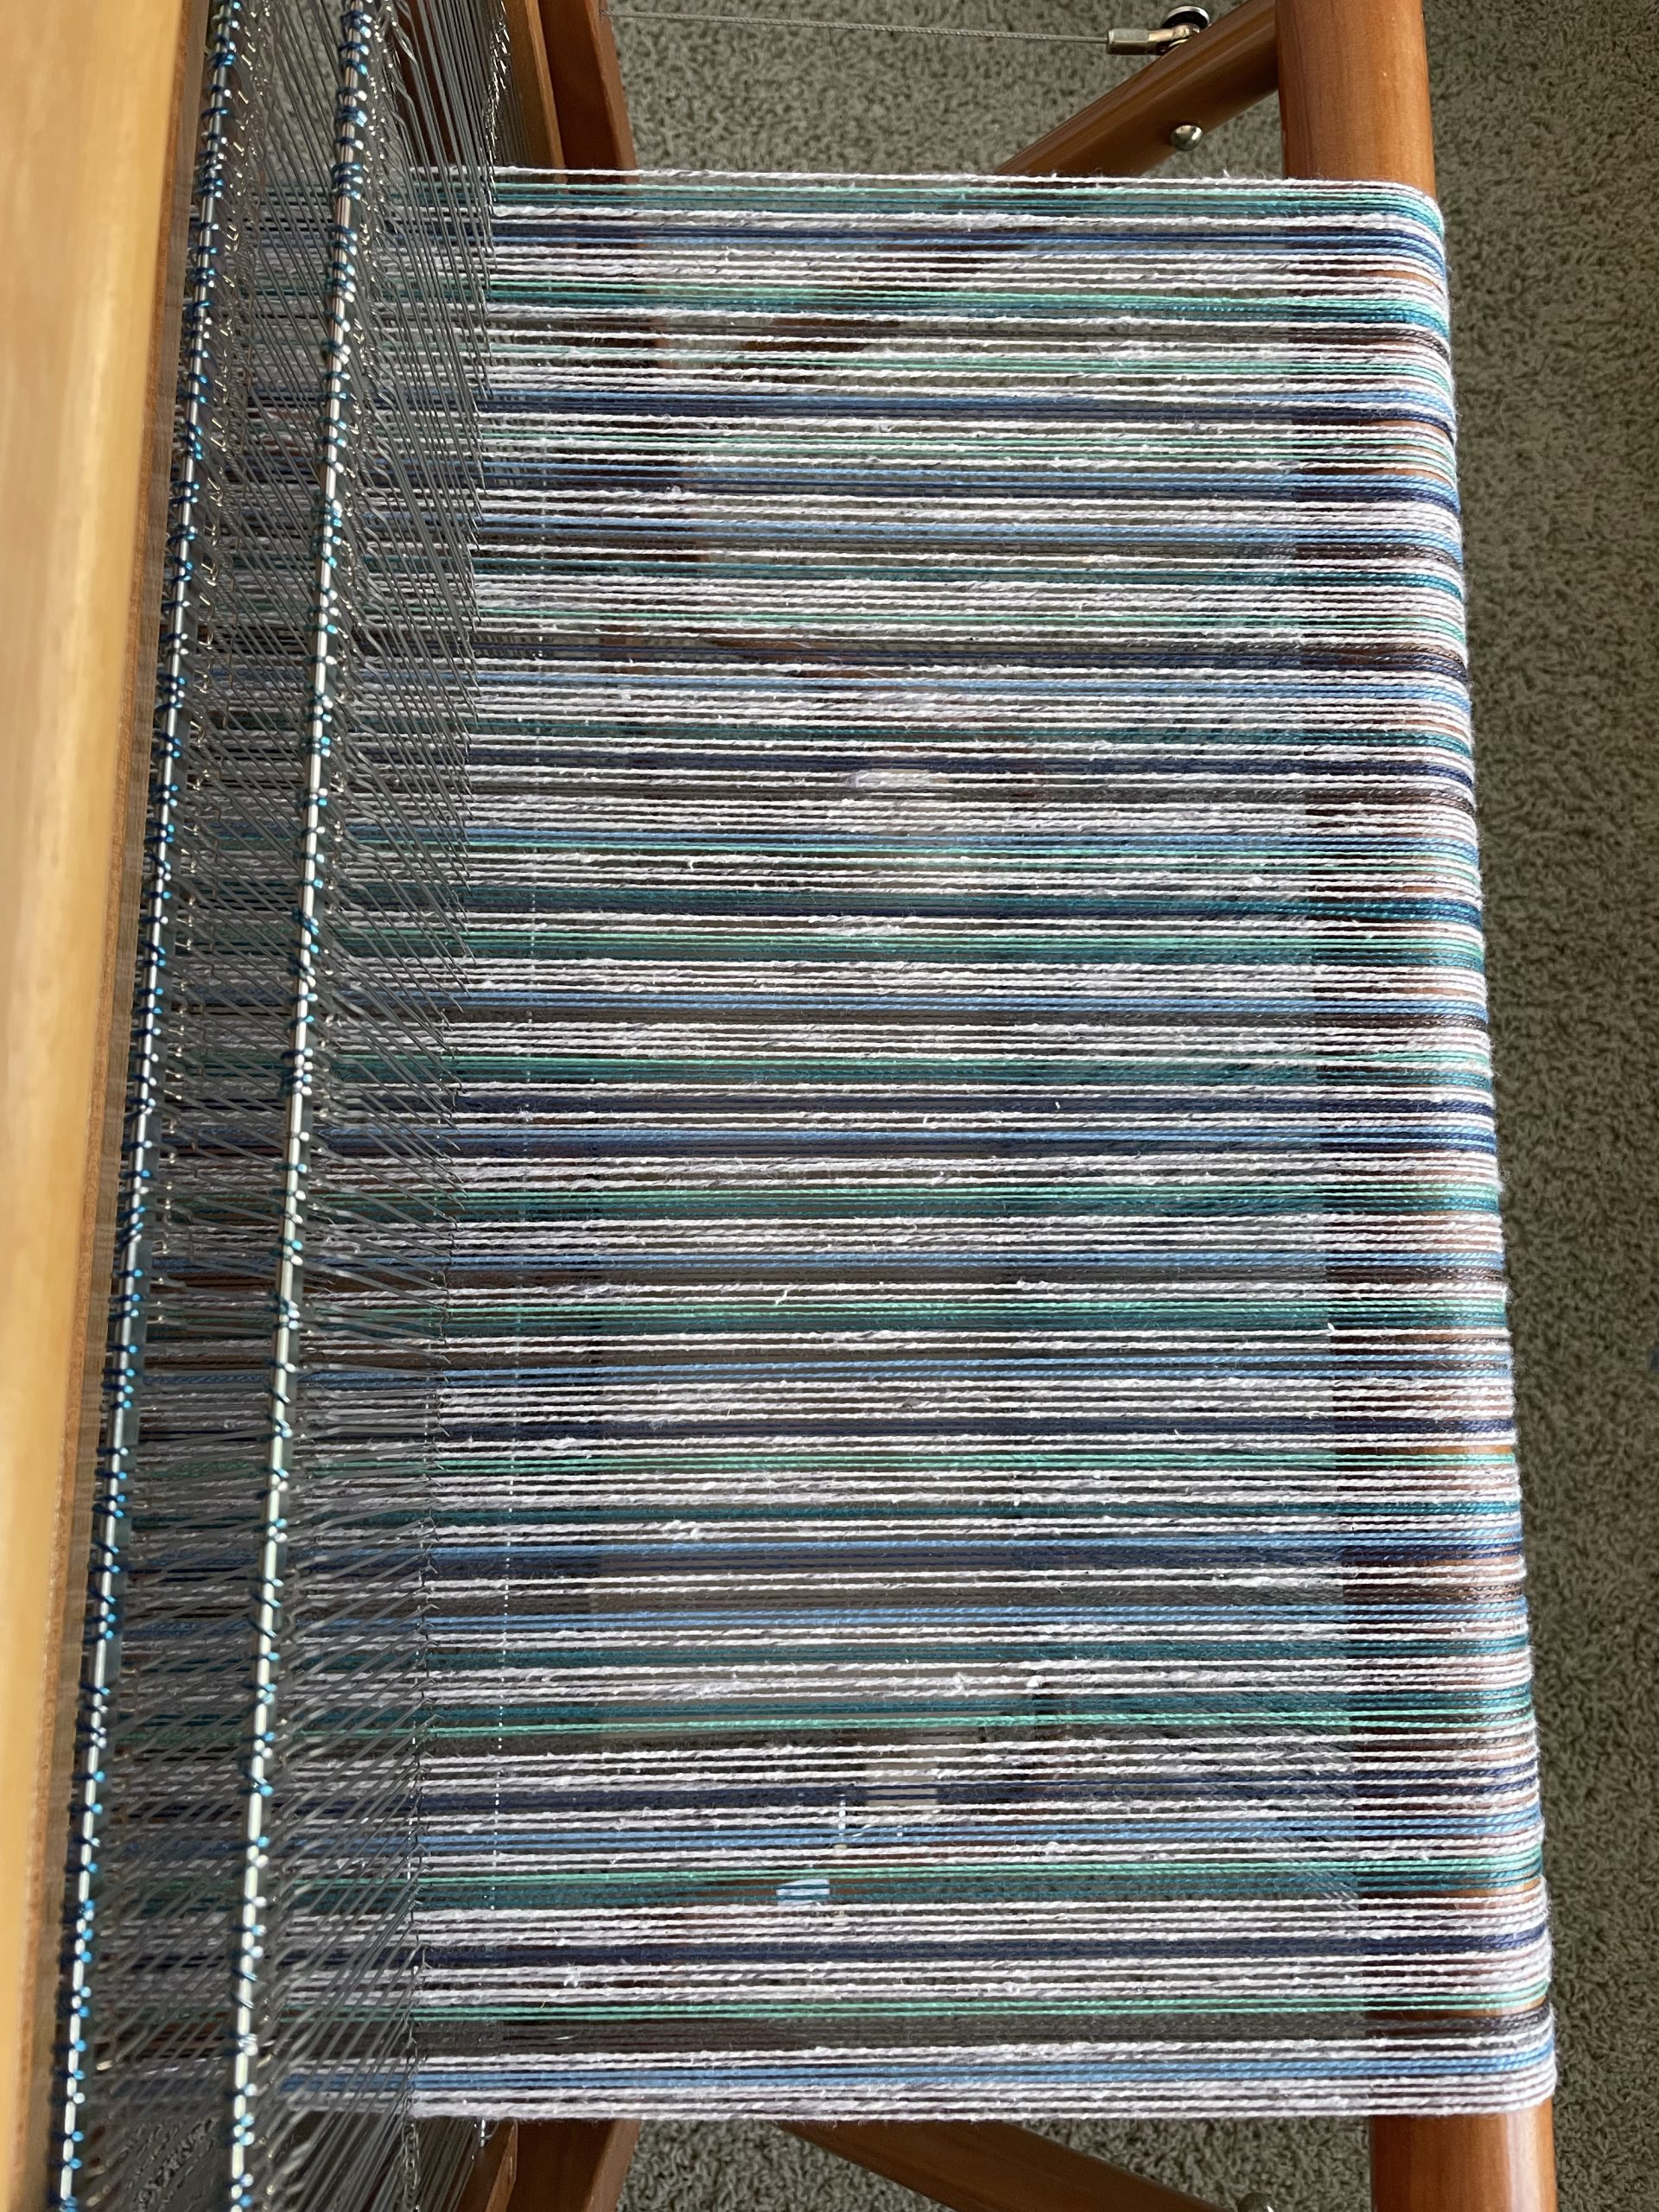
It’s probably safe to say that for most weavers, getting the warp on the loom and ready to weave is their least favorite part of the experience. To be more specific for me, I don’t like beaming the warp. Weaving in the Saori style is a go-with-the-flow kind of experience in plain weave (two harnesses, so an over-under-over-under weave). Typically, you also aren’t dealing with patterns. So, I prepare a warp on the warping board, changing colors when I like. For this warp, I liked changing colors a lot, apparently. These yarns are all cotton and are very similar in weight. Here’s the beginning of beaming the warp. This is a 9 meter warp (29.5′) draped from the front of the loom, through the lease sticks, through the raddle, and down to the back beam.

Here’s the top view. The lease sticks are the two strips of oak on the right. They maintain the cross that I created when I wound the warp on the warping board. The “comb” on the left is the raddle, temporarily mounted onto the loom to maintain an even distribution of yarn as I wind it on the back beam.

Here is the warp partially beamed. I’m placing strips of kraft paper between each warp layer to keep it even and coming off the loom smoothly. I took a warping class, and the instructor said that two people are really needed to warp the loom; one person to hold the warp with tension at the front of the loom, and a second person to wind the warp. Using the lease sticks and the raddle to maintain an even tension while beaming the warp makes it just possible to do this on my own. This is a small loom and a 20″ wide warp, which helps too. I’m sitting on the floor to the left in this picture, using my left hand to press the pedal on the left to be able to wind the warp by turning the beam with my right.

As the warp progresses, it gets harder and harder. Where I could go maybe nearly a whole revolution of the back beam at the very beginning, now I’m adjusting about every quarter turn. See the two teals and the grey warps wrapped around the lease stick in the center? Without someone to manage the tension on the front of the loom, the warp does what it wants. So, I get up and go to the front of the loom and snap the warp up and down and side to side like a whip to loosen it, then walk to the back of the loom and untangle and straighten the warp – and sit down on the floor, and go again. And again. And again.

Now I thread the heddles. It isn’t hard, just slow. In my hand are the warp threads that are going over the lease stick closest to me at the very top of the photo. In the background, you can see the ones that went under. Also in my hand is a few of the heddles on the front harness, and in the background are some on the back harness. I thread an inch at a time, then go back to check that I’ve alternated harnesses, and loosely tie that inch off in front of the heddles.

So now I’ve progressed from sitting on the floor to the left of the loom to sitting on this very low stool to thread the heddles. On bigger looms, you might literally sit inside the loom. For this one, I sit on something low so my eyes are fairly close to heddle level and my back is relatively straight. My arms are draped over the front beam with my shoulders pushed up into my ears, so it’s not really ergonomic, but my back won’t hurt from hunching in this position. I’ve removed the reed to make it easier.

And this is the end result of a fully warped loom. Underneath is the roll of warp, coming up smoothly and evenly through the harnesses on the left of the picture. To the left, out of the picture, is the reed and the front of the warp, ready to weave. Off I go!

4 responses to “Warping the SAORI loom”
Thank you, however I am looking for a tutorial showing threading the heddles on the loom and sleigh the reed. Do you know where I might find such a video. Thank you very much, diyan
I don’t, I’m sorry. I dress the loom back to front, the opposite of how the instructions that came with the loom state. I took a loom warping class, and this works for me. I did some looking, and you’re right, there isn’t much out there for videos on this specific to the SAORI loom. Karen Isenhower shows sleying the reed on a different kind of loom. Bre Legan shows a step-by-step on threading the heddles on a different multi-harness loom, but with the wire heddles and using the tool.
As I thread the heddles, because there are more heddles than I have ever used, I leave an empty one front and back every couple inches or so. I do go back and check every inch as I thread the heddles (I now tie the warp bundles in an inch worth of yarn). When it comes to sleying the reed and I find a mistake, I have less to undo. Here’s another post of mine on warping, if that helps you.
What is the weight of cotton yarn used for the warp?
It’s a mix, but mostly 3/2. I have 3/2 on it now, and nearing the end of the same length of warp, and I’m not sure it’s all going to fit on the front beam. Maybe all 3/2 isn’t exactly the same. 🙂